GF in the City
:
Living Gluten-Free in NYC
Categories
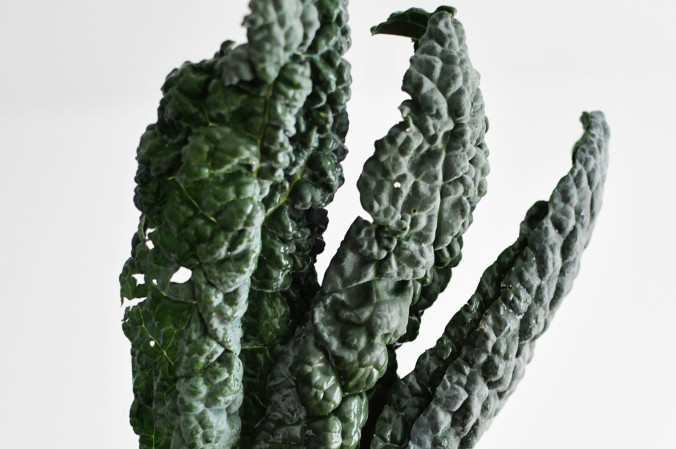
In the Kitchen
In My Life
In the Garden
Out to Eat
In the Pantry
Most Recent Posts
Goodbye, Hello
Other Pages
About
Recipes
Stay in Touch
Email
Subscribe to the RSS feed
Follow @GFintheCity on Twitter
Become a fan of GF in the City on Facebook
GFitC in Your Inbox
Other Links
GFitC's FAVORITES on AMAZON
GF in the CITY & ELSEWHERE
Search for:
Archives